 |
| Maria- Glorious! |
A really great tip when using Photoshop is to add different layers, don't add to the background layer since the options are limited on this layer. By creating layers you can remove section that you dislike easily without ruining other parts of the design.
You can take your designs and scan them into the computer, open them in Photoshop and using the magic wand tool you can select the lines from the drawing. The design that is scanned in needs to have really good lines and any breaks in them will cause the colour to leak out. This line can then be darkened using fill.
Cut this line and then paste it in another layer, change the background to a solid colour commonly white. Create another layer and start adding colour. By changing the colour saturation and hue you can easily view your designs in different colours.
Patterns and fabric can also be scanned and added into the designs and wrapped around the design to make it look three dimensional.
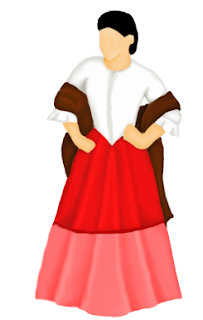
Here is my design for Maria for Act 2 Scene 3 of Glorious! by Peter Quilter. This was made using Photoshop.
No comments:
Post a Comment